
The bike series is a short, informative, mini-instruction manual for common bike problems.
From learning how to put the chain back into its place, how to properly pump up and maintain tires, and to fixing simple malfunctions – this will be a handy guide for the rainy days when nobody is around to help you.
Quick-help 2:
How to fix a crooked handlebar
After slipping on the wet concrete and getting to know the road face to face, or hurriedly changing greetings with someone else without getting off our bikes, we all have experience in falling off our metal horse, twisting its handlebars in the process. But what is not as widely known is that if your handlebars have turned by 180 degrees, they can easily be reassisted into their original stand.


A crooked handlebar must be fixed, but first some tools are needed. The best option is a compact multi – tool that you can put in your backpack and bring with you to your every adventure, so that the next time you have a romantic encounter with the road, you can quickly fix your bike.
- Turn your bike around and select the passing allen key

A handy multi-tool has a wide selection of different allen key sizes. Try out different ones and get to know which fits your bike.
2. Get the front wheel between your knees
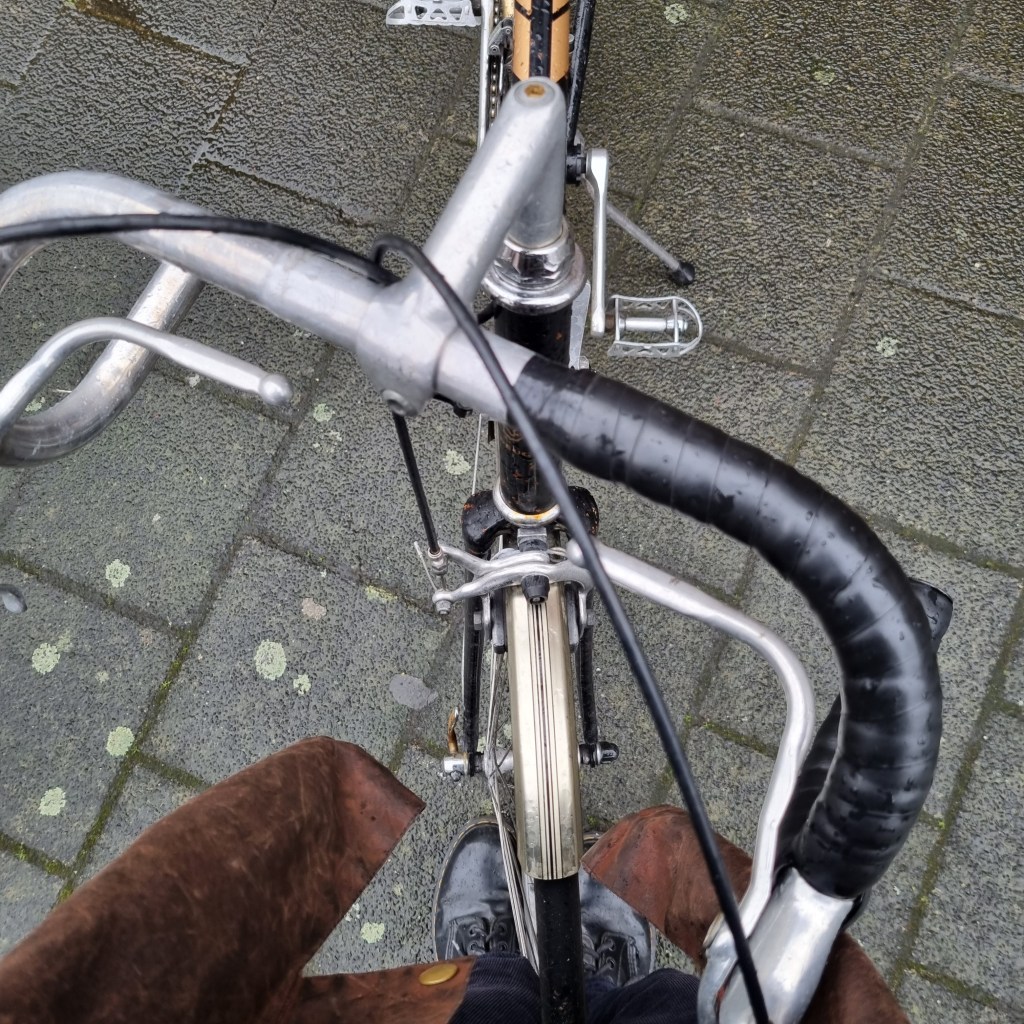
Align the front wheel with the frame of the bike. Do not yet worry about the handlebar, just make sure that the wheel and frame are pointing the same way.
3. Loosen the handlebar bolt

By turning the screw anti-clockwise, the handlebar will loosen up and you will be able to align it with the front wheel.
4. Get behind the wheels
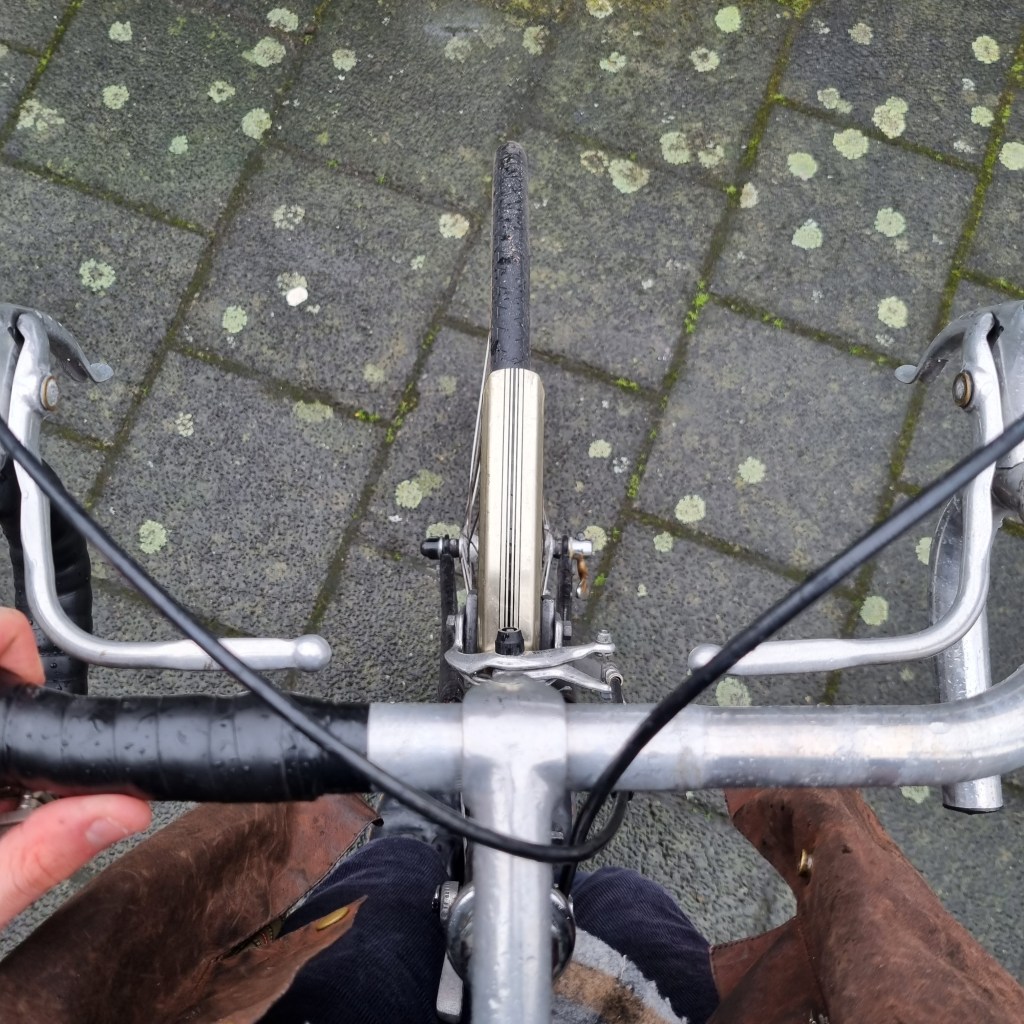
To be able to properly measure the direction of the handlebar and the front wheel, get behind the handlebar and adjust the angles. The stem (long connecting part of the handlebar) has to be pointing the same way as your front wheel.
5. Tighten the bolt of your handlebar

Carefully tighten (clockwise) the bolt until you feel it being fixed in place. If turning the wheel feels heavy and slow, you should loosen the bolt.
With your newly acquired repairing skills, hop on your bike happily and enjoy the feeling of superior bike knowledge.
This was the second mini-instruction for the bike series.
Hopefully you will not need this knowledge soon.
by Matteo
.
.
.
Tell us what you think on Instagram @basis.baismag

Leave a comment